First steps
1. Welcome
After starting PayMaker displays the Welcome dialog. You can fully test the program for 60 days from the first start; click Try to do so. The app calls the Database Manager.
2. Create a database
- If you have already worked with CLX.PayMaker OS X Version 1.x, you can import the data into a new PayMaker 2 database import - the original file remains unchanged.
- If you have previously worked with UBS Pay Version 5.6, you can also import the data into a new PayMaker 2 database[ubsPayImport.html).
- Otherwise, choose New client. The app first asks for the name and location of the new database, then it displays the Create a Debit Account window.
3. Create payments
After you have created the client, PayMaker displays the main window:
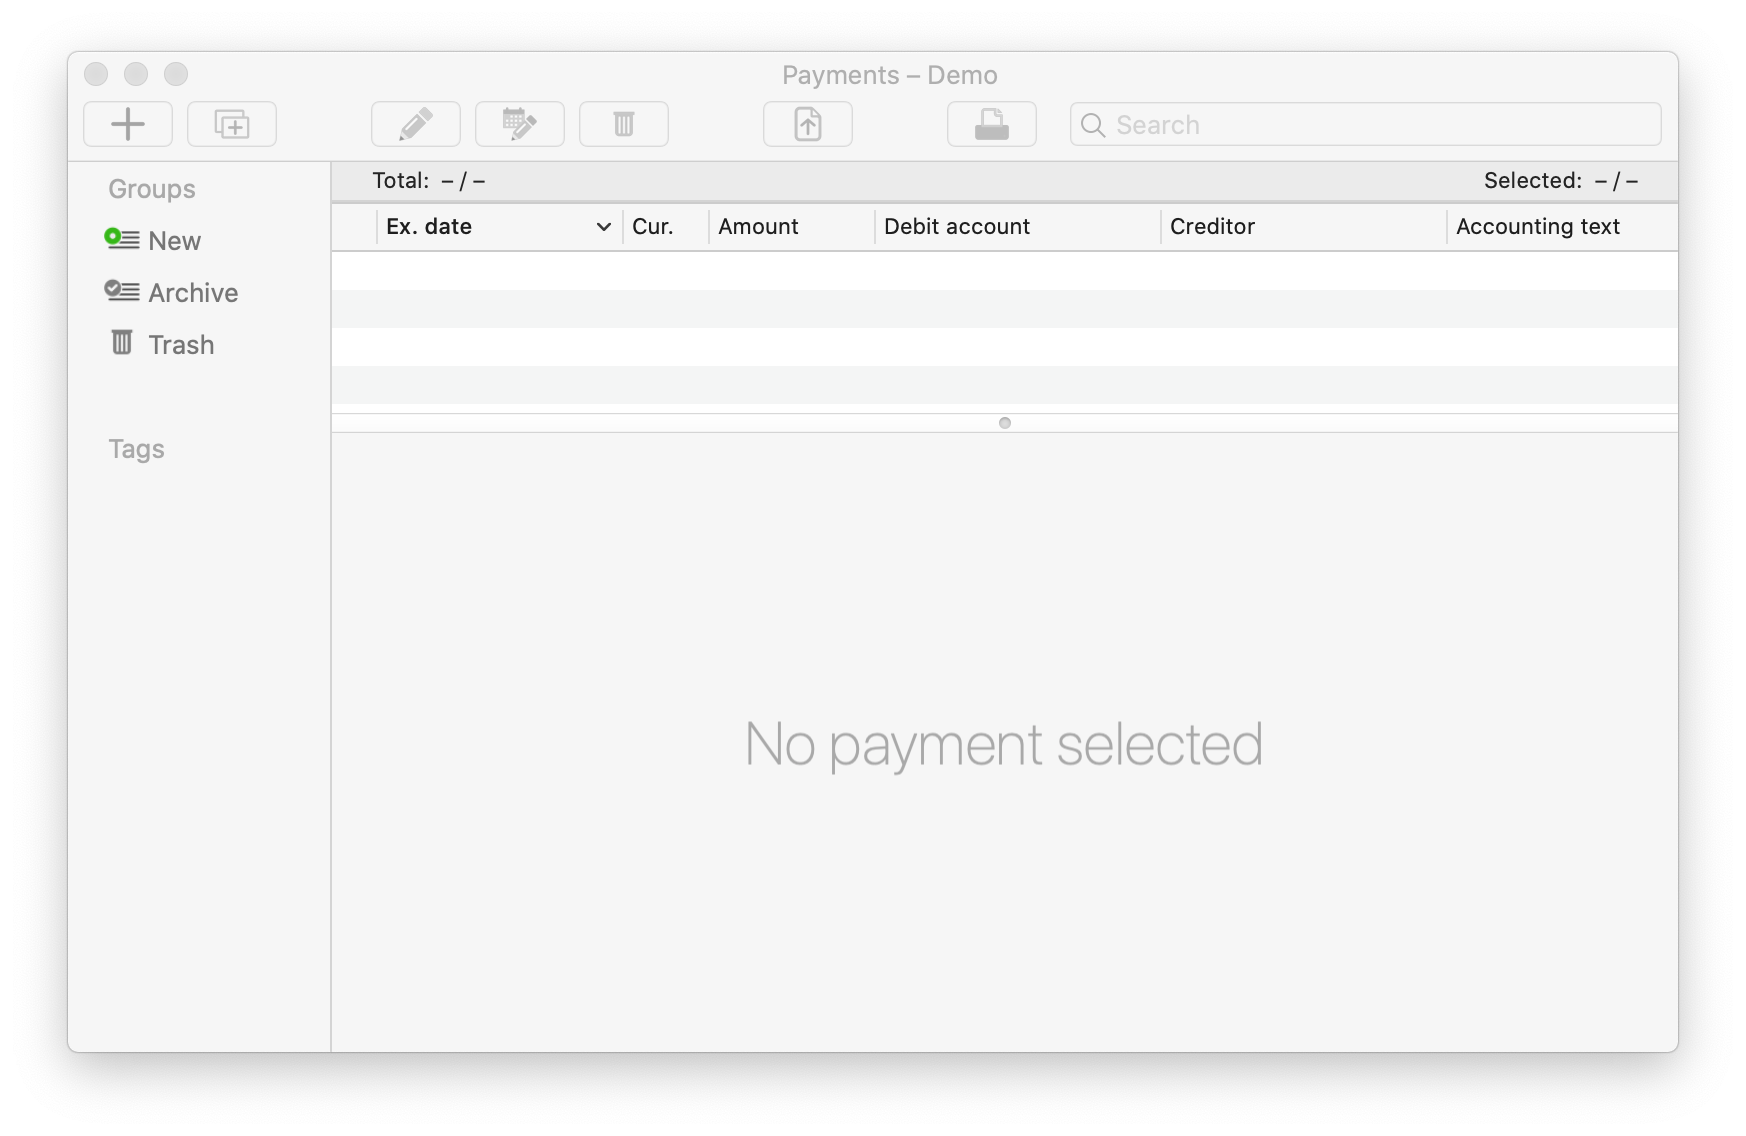
Click Create on the toolbar to enter a new payment.
4. Prepare payment file
Select the payments entered and click Prepare on the toolbar. PayMaker creates a payment file with the settings selected when entering the debit account. The app then opens the overview window for the payment files:
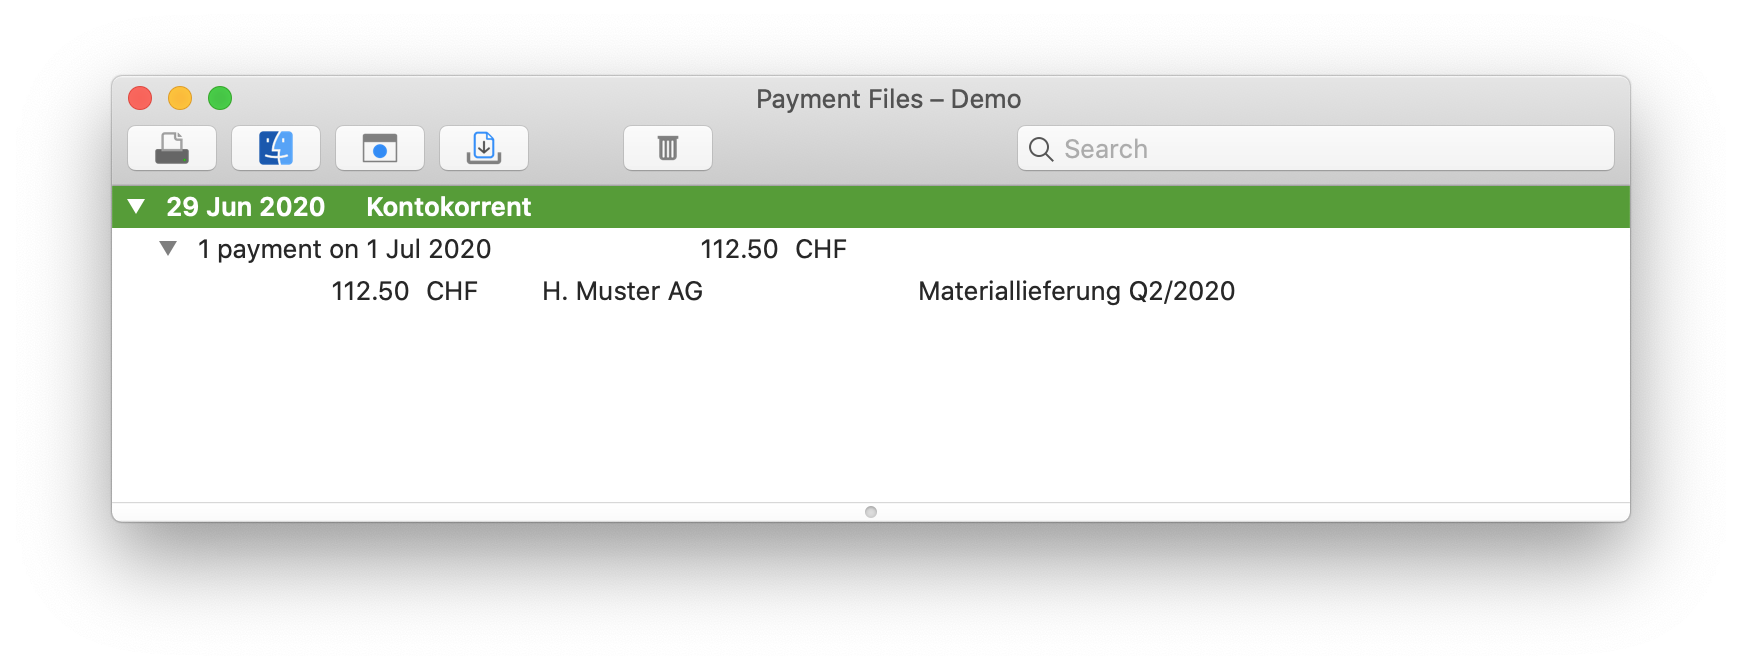
Select the line at the top level and click on the Finder icon. PayMaker opens a Finder window and selects the payment file.
5. Upload payment file
PayMaker 2 Mac cannot transfer payment files to the financial institution; you have to do this yourself. Log into your financial institution’s online banking system and upload the payment file.