Main window
The Payments window is the main PayMaker window. If it is closed, you can open it via the menu Payments → Display payments.
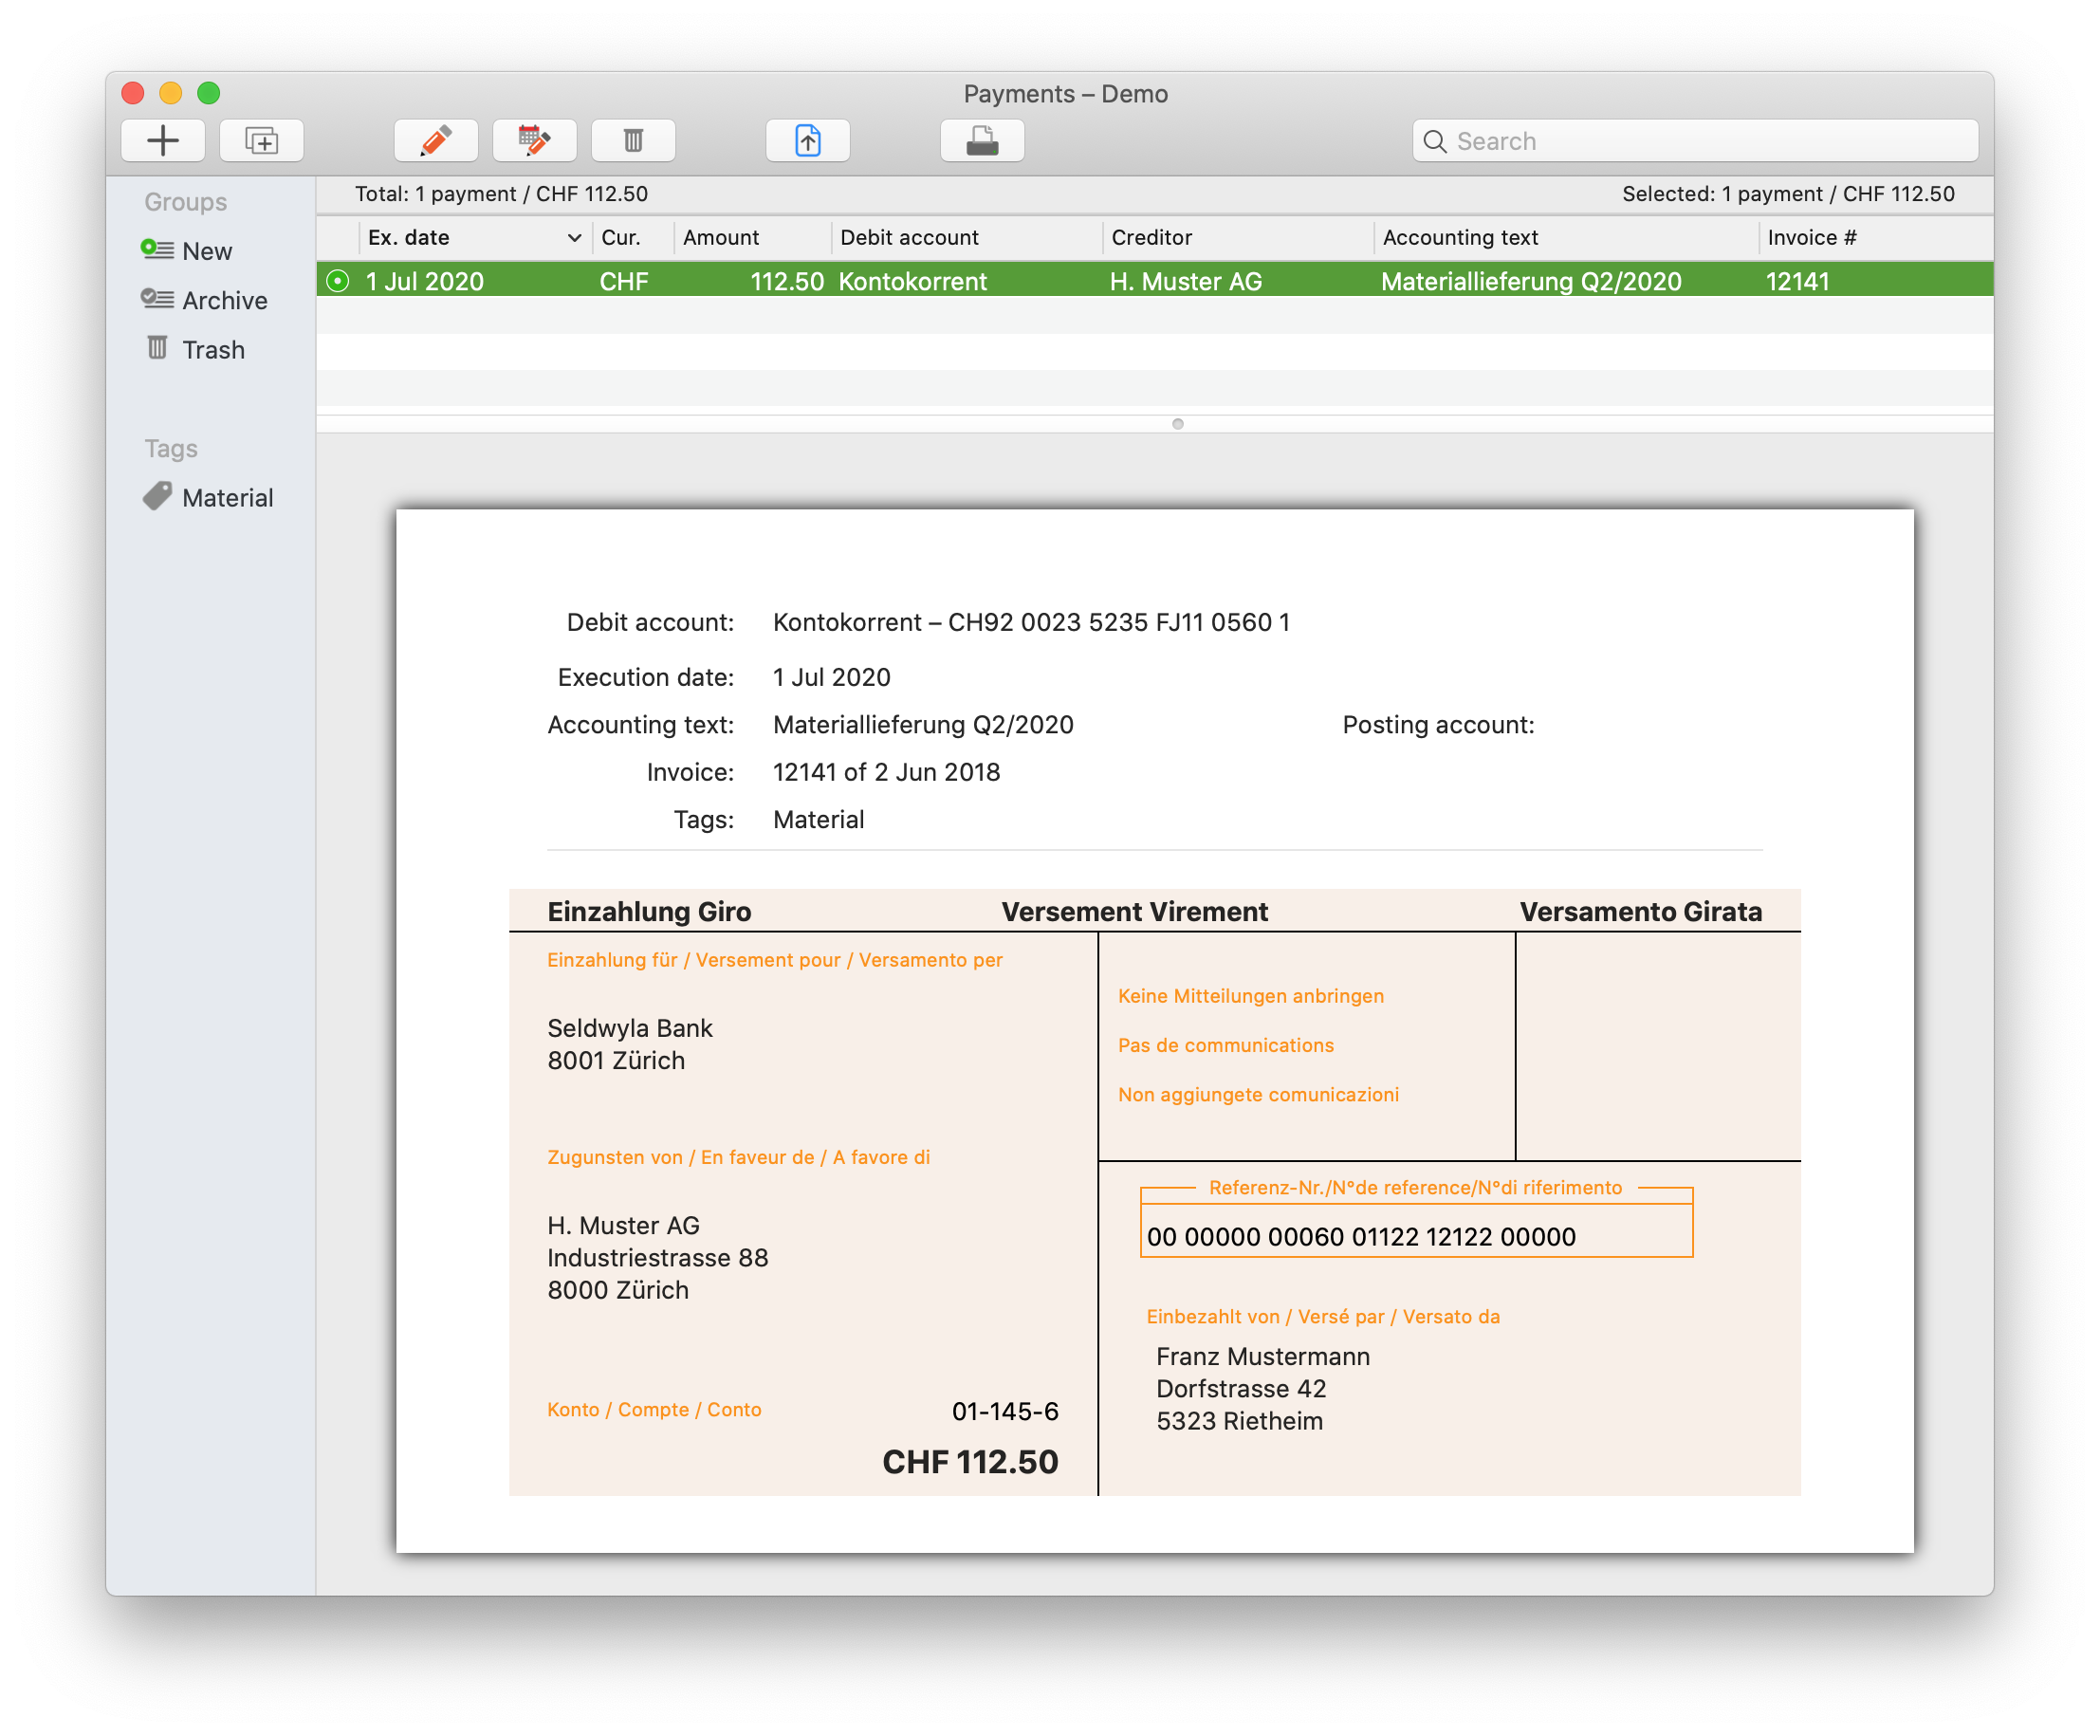
The window is divided into four areas.
1. Toolbar
The toolbar contains buttons for the actions that you can perform with payments. As in most macOS applications, you can show, hide or customize the toolbar. You can find the corresponding options in the Display menu or by right-clicking (or ctrl-clicking) on the free space in the toolbar.
2. Filter column
In the filter column you can choose which payments PayMaker should display.
2.1 Groups
- The group New contains all payments that have not yet been prepared.
- The group Archive contains all payments for which you have created a payment file (and which you have probably sent to the financial institution).
- The group Trash contains all deleted payments.
If you have defined several debit accounts, you can expand the groups and display only those payments that are assigned to a particular debit account.
2.2 Tags
You can assign any tags (labels) to your payments when you create them. As soon as you have created at least one payment with a given tag, it appears in the filter column. If you select a day, PayMaker displays the corresponding new and archived payments.
3. List of payments
The list of payments displays all payments that match the selected filter criterion or the search term entered in the toolbar. The display can be adjusted:
- Click on a column header to sort the list according to the contents of the column. Click the same column header once more to reverse the sort order.
- Right-click (or control-click) in the header to select the fields to be displayed in the list.
4. Payment detail view
The details of the top-most selected payment are displayed in the fourth area.